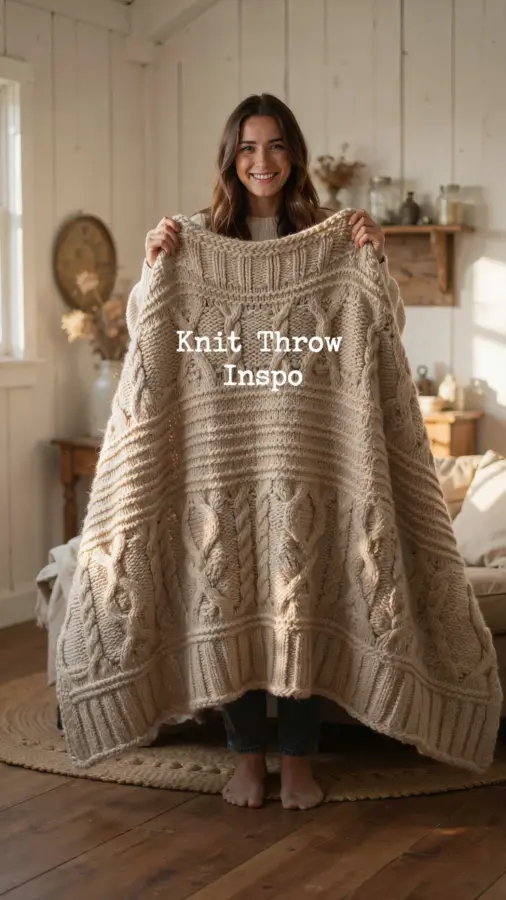
I remember the first time I saw a puff quilt online. It looked so impossibly plush and cozy that I assumed it was way beyond my skill level. But after testing a few methods and making a few mistakes, I realized this chunky knit throw blanket pattern is genuinely beginner friendly. This puff quilt tutorial walks you through the exact steps I used to create a soft, warm addition to my living room decor. If you can knit a simple rectangle, you can absolutely make one too.
Choosing the Right Yarn for Your Puff Quilt
Bulky yarn is the backbone of this project. I tried using a worsted weight at first and ended up with a blanket that looked more like floppy pancakes than puffs. Chunky weight yarn (size 6 or super bulky) gives the squares that satisfying dome shape. Stick to a wool blend or acrylic that holds its structure without being stiff.
For my first blanket I used three skeins of a super bulky chenille yarn. It was soft and slightly forgiving if my tension was uneven. Avoid anything too slippery like pure silk or bamboo blends, they won’t hold the puff shape well.
What You Need to Get Started
Gather these basics before you begin. I found that having everything ready saved me from mid‑project frustration.
- Bulky yarn: about 800‑1000 yards depending on blanket size (I used 3 skeins for a 4×5 foot throw).
- Knitting needles: size 13 or 15 US (10mm or 12mm) – circular or straight works fine.
- Scissors and a tapestry needle for weaving in ends.
- Measuring tape to check square sizes as you go.
That’s really all you need. No special blocking mats or extra gadgets. I made my entire first puff quilt on a pair of second‑hand straight needles.
Understanding the Basic Puff Stitch
The puff effect comes from knit stitches that are gathered or shaped into a dome. The simplest method is to knit a small square flat (about 6 inches by 6 inches), then fold the edges together and sew them closed while leaving a small opening. You stuff the square lightly, close the opening, and you have a three‑dimensional puff.
I prefer a modified version where you knit the square with a garter stitch border and a stockinette center. The stockinette curls slightly inward, helping the puff hold its shape without extra stuff. If you want a firmer square, you can add a tiny bit of polyfill, but I found the yarn alone is plush enough.
Step by Step Build of the Blanket Squares
Cast on 28 stitches with your bulky yarn and needles. Knit every row until the square measures about 6 inches. Bind off loosely and you have a flat square. Fold the square diagonally so the two opposite corners meet, then whipstitch the edges together, leaving a 2‑inch gap. Turn it right side out, push the center outward to form a puff, and stitch the gap closed.
Repeat that until you have enough squares. For a small throw I made 20 squares (4 rows of 5). The process is meditative once you get a rhythm. I would watch a show and knock out three squares an hour.
Joining the Puffs into a Finished Throw Blanket
Lay out your puffs in the pattern you want. I arranged mine in a simple checkerboard layout. Join them using a mattress stitch or a simple whipstitch on the wrong side. Because the puffs have volume, I sewed only through the top edge of each square where the folds meet, leaving the puffs free to stand out.
A tip I learned the hard way: don’t pull the joining yarn too tight. Leave enough slack so the squares can sit next to each other without flattening. I used the same yarn from the project for seaming, and after joining all squares, I wove in ends with the tapestry needle.
Common Mistakes and How I Fixed Them
My first puff square was too small because I cast on with a loose tension. I ended up with a floppy square that wouldn’t puff. Solution: use a smaller needle or cast on a few extra stitches. Another time I stuffed a square with too much polyfill, and it looked like a ball instead of a gentle dome. For a soft throw, less filling is more.
I also tried seaming the puffs with a contrasting color yarn. It looked busy and messy. Stick to the main yarn color for a clean, cohesive blanket. If you want contrast, use a similar weight but a neutral tone.
Caring for Your Chunky Knit Throw
Bulky yarns do best with gentle care. I hand wash my puff quilt in cool water with a mild soap, then squeeze out excess water (no wringing) and lay
#puffquilt #knitthrow #diyblanket #chunkyknit #throwblanket