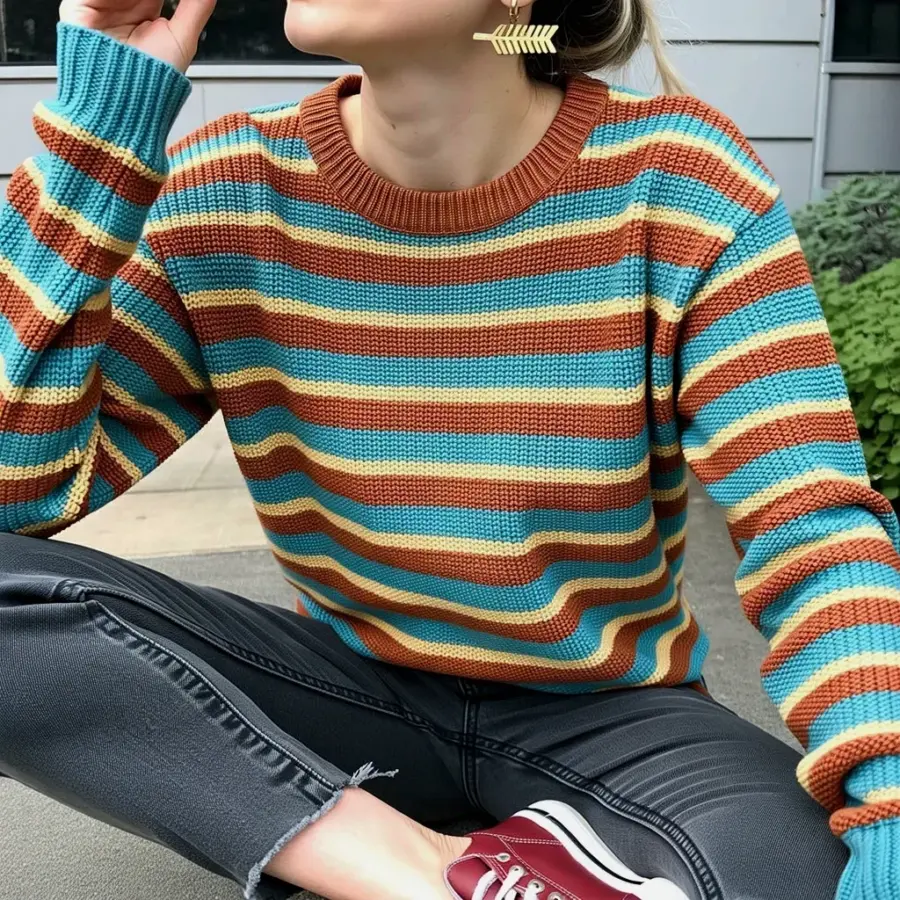
I never thought a crochet pillow before and after story would be the thing I’d be most proud of in my living room. But here we are. That plain, sad, store-bought pillow had been sitting on my couch for two years. Beige. Lifeless. The kind of pillow you ignore. Then I spent a weekend making a single crochet cover, and honestly, the whole room shifted. It’s not just a pillow anymore. It’s the thing people touch when they walk in. It’s the texture that makes the sofa look intentional.
The chunky basket weave pillow cover that started everything
I wanted something that looked expensive but felt cozy. Not gonna lie, I almost bought a knit throw at Target. But then I remembered I had a skein of Lion Brand Wool-Ease Thick & Quick in my stash. That stuff is literally like wrapping your couch in a sweater. I used a basic basket weave stitch (just front post double crochet and back post double crochet) and it took about six hours. Six hours for a pillow. That felt insane at the time.
But the before and after? Look, the old pillow was flat and forgettable. The new cover has ridges you can run your fingers over. It adds visual weight without being heavy. My husband, who never notices decor, said “oh, that’s nice” without me prompting him. That’s a win.
Granny square revival: a throwback pillow cover that actually works
This is the idea I almost dismissed because granny squares feel so 1970s. But here’s the thing: use a modern color palette instead of the classic burnt orange and avocado. I made a small version with four squares in dusty blue, cream, and a hint of mustard. Each square took maybe 20 minutes. Sewing them together took longer than I’d like to admit. My seam allowances were a mess. I had to redo one square because I attached it upside down.
It works because the contrast between the individual squares and the solid back creates a story. It’s not just a pillow; it’s a composition. A friend asked me if I bought it at a boutique. I laughed. “No, I messed up half of it.” She didn’t care. She wanted to know the pattern. Moral of the story: granny squares are forgiving. And they make a plain couch look lived-in, in a good way.
- Pick three colors max. More than that and it looks chaotic.
- Use a neutral background color to anchor the squares. I used cream for the back.
- Sew with a darning needle and a whip stitch. Do not use a sewing machine. I tried. It was a disaster.
The minimalist single crochet pillow cover for people who hate fuss
Ok so this is the opposite of the basket weave. No texture, no complicated stitches. Just row after row of single crochet in a soft, drapey yarn. I used a cotton blend (Lily Sugar’n Cream) in a pale heather gray. The result is a cover that looks almost like a fabric envelope. It’s calm. It’s boring in the best way. And honestly, it’s the one I reach for when I want to lie down without thinking about the decor.
Here’s the weird detail: I made the front panel a little too narrow. So the pillow form bulges out slightly on the left side. I was annoyed at first. But now I think it gives the pillow a slight personality. Like it’s shrugging. If you’re a perfectionist, maybe measure twice. But if you’re me, just let the pillow be a little crooked. It’s handmade.
Burst of truth: single crochet takes forever. It’s the slowest stitch. But the fabric is so dense and firm that it keeps its shape better than any other stitch. If you want a pillow cover that doesn’t sag after a week, this is it.
How to close your crochet pillow cover without losing your mind
I have opinions on this. Strong ones. The first time I made a pillow cover, I tried to crochet it as a tube and then close the ends. It looked like a sad sock. So now I do panels. I make two flat pieces (front and back) and then seam them together leaving a gap. Then I use buttons. Buttons are forgiving. You can position them exactly where you need them. I used three 1-inch wooden buttons on that basket weave pillow.
Another option is a zipper, but threading a zipper into crochet fabric is like teaching a cat to knit. Possible but painful. I prefer a simple button closure or just a long flap that tucks inside. Look, the easiest method is to leave the last side open and close it with a slip stitch. No buttons, no zippers. Just crochet the seam shut and cut the yarn. If you ever need to wash it, you pick out that seam and redo it. Five minutes of work. That’s my lazy trick and I stand by it.
Washing and caring for your handmade crochet pillow cover
I learned this the messy way. My first cover got a coffee spill (thanks, clumsy morning). I threw it in the washing machine on hot. Bad move. It felting slightly and shrunk two inches. Now I hand wash everything. Cold water, a drop of mild detergent, soak for 15 minutes. Squeeze gently, do not wring. Roll it in a towel and lay flat to dry. That’s it.
Acrylic yarn is more forgiving than wool. If you use cotton, it might stretch. If you use superwash wool, it’s fine. But honestly, just test a swatch first. And if your pillow cover gets a little fuzzy over time, that’s called character. Not a flaw. A pillow cover that looks perfectly pristine is suspicious. Let it get a little worn. Let it look used. That’s the whole point of handmade.
Three free crochet pillow patterns you should try this weekend
I’m not gonna gatekeep. Here are patterns that actually work for beginners or for people who want a quick project.
- The “simple linen stitch” pillow. It looks woven but it’s just chain spaces and single crochets. I found it on a blog called “Cozy Crochet”. The pattern uses worsted weight yarn and a 5mm hook. I made one in taupe and it looks like something from West Elm.
- The “bobble stitch square” pillow. Bobble stitches are fun because they create a polka dot texture. The only downside is they eat up a lot of yarn. I used two skeins for a single 18-inch pillow. But the texture is addictive to touch.
- The “no-sew envelope pillow cover.” This is a gem. You crochet one long rectangle, fold it into three sections, and seam the edges. The opening is on the side. No buttons, no separate back panel. I tried it with a chunky merino yarn and it took four hours. Zero frustration.
Anyway, if you’re sitting on a plain pillow right now, you know what to do. Grab some yarn. Pick a stitch you already know. Just make one. You’ll be shocked at how a few rows of crochet can turn a boring couch into something that feels like you. And if you make a mistake, that’s fine. My basket weave pillow has a dropped stitch on the back. I never see it because the back faces the wall. We all have blind spots. Even pillows.
#crochet #pillow #crochetpillowcover #crochetpillow #pillowcovers