Why This Picot Border Works So Well With Chunky Yarn
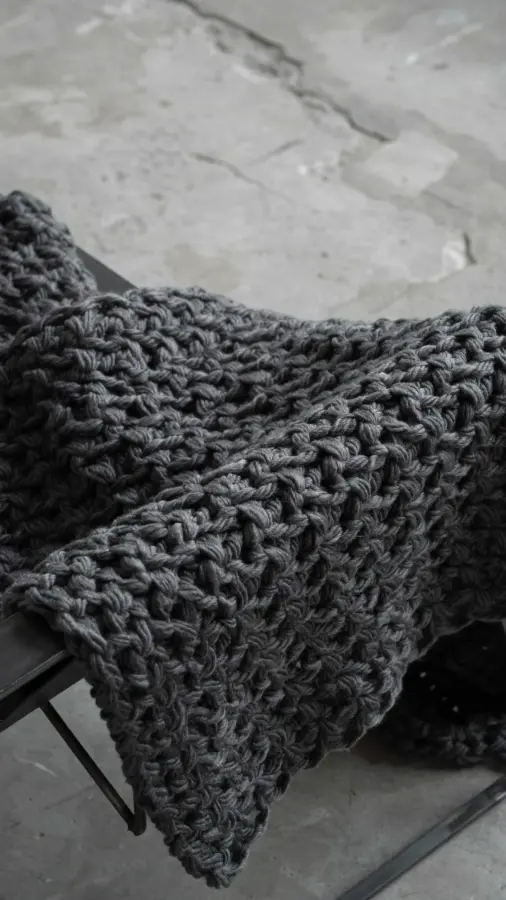
As the evenings get cooler and you start reaching for your softest throws, a handmade blanket feels extra special. But a chunky star stitch blanket can look a bit unfinished without a clean edge. That is where a crochet picot stitch border comes in. It adds a delicate, polished finish that contrasts beautifully with the thick, textured star pattern. The tiny loops of the picot give the blanket a handmade, heirloom feel without adding bulk or stiffness.
I have made several chunky star blankets over the past few seasons, and this border has become my favorite way to finish them. It works especially well with bulky and super bulky yarns because the picot stitches stay open and defined. The combination of chunky texture and airy picot loops creates a balanced look that feels modern but still cozy. If you are looking for a crochet blanket pattern that feels complete, adding this simple edge is the best final step.
Materials You Need for This Easy Crochet Border
Before you start, gather your supplies. You likely already have most of these if you finished the main blanket. For this easy crochet border, you need:
- Yarn: The same bulky or super bulky weight you used for the star stitch throw. I like to use a complementary color for contrast, but matching works too.
- Crochet hook: One size smaller than your blanket hook (e.g., 5.5mm if you used 6.5mm). This keeps the border neat and even.
- Scissors and tapestry needle: For weaving in ends.
- Stitch markers (optional): Helpful for counting stitches around corners.
That is really it. No special tools or expensive supplies. The whole border uses one stitch repeated around the edge, so even a beginner can memorize it quickly. I recommend working a test swatch with your yarn and hook to get your tension right before starting on the blanket itself.
Step by Step: Adding the Picot Stitch Border
First, work a round of single crochet evenly around the entire blanket. This foundation row gives you a stable base and makes the picot stitches line up neatly. Count your stitches on each side so corners are symmetrical. For a chunky star throw, aim for roughly one single crochet per stitch along the sides and three single crochet in each corner space.
Once your base round is complete, you start the picot stitch border. Insert your hook into the next stitch, yarn over and pull up a loop. Chain 3 (or 4 for a larger picot), then slip stitch into the same stitch you started from. That forms a tiny loop. Then single crochet into the next stitch to secure it. Repeat this pattern all the way around. At corners, work a picot into the corner stitch itself, then add an extra single crochet in the same corner to keep the edge flat.
I find that a chain 3 picot looks best for bulky yarn because it creates a clear loop without being too long. If your yarn is very thick, try a chain 4 instead. Keep your tension even, but do not pull the picot loops too tight; they should stand out slightly. The video tutorial linked below shows this step in real time, which helps if you are a visual learner.
Customizing Your Throw Blanket Border Length
One of the great things about this picot stitch border is how customizable
#CrochetPicotStitch #ChunkyStarBlanket #CrochetBlanketPattern #EasyCrochetBorder #ThrowBlanketIdeas