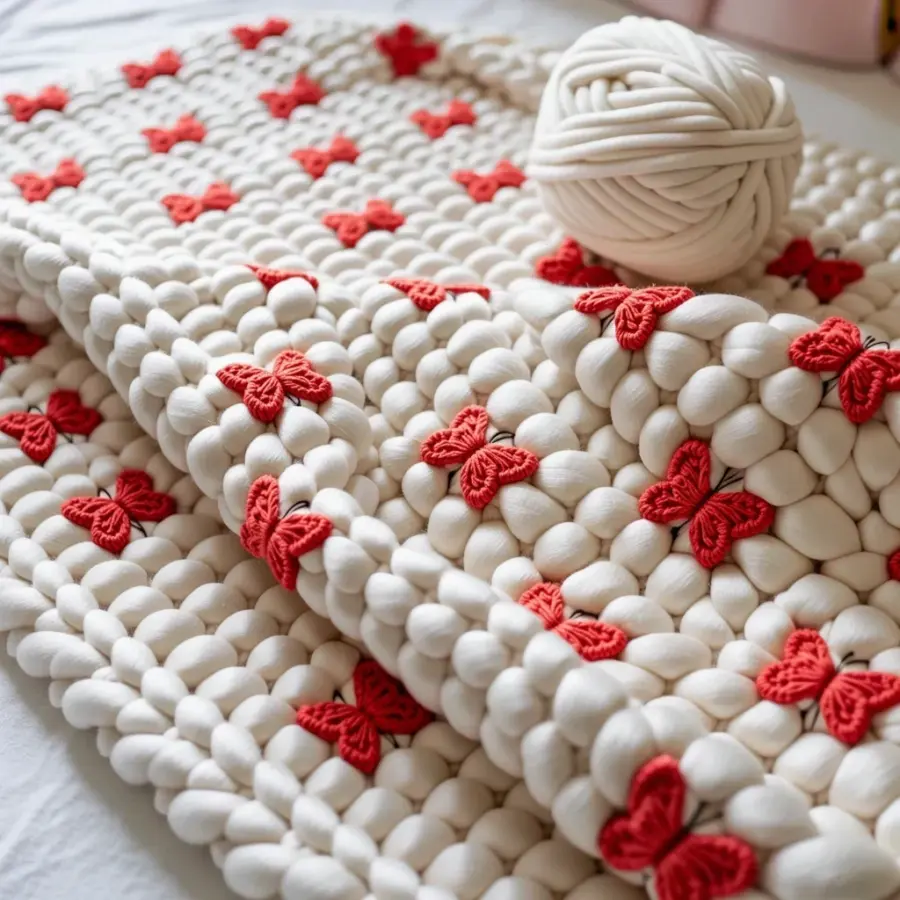
Have you ever looked at a ball of yarn and thought, I want to make something nobody else has? That’s how my latest crochetblanketdesign started – a wild idea that turned into a full pattern. Honestly, the process felt messy at first. But the more I unraveled (literally), the more I realized how doable it is. If you’ve been dreaming of creating your own design, let me walk you through how I went from a random thought to a finished throw.
Starting With a Spark: How to Capture Your Blanket Idea
Every pattern begins with a spark. For me, it was a photo of a faded Persian rug from a thrift store. I wanted that same worn-in texture but in a modern rectangular throw. So I saved the photo and jotted down notes about colors – dusty rose, moss green, cream. Look, you don’t need a Pinterest board full of inspiration. Sometimes it’s just a single image or even a feeling (cozy autumn afternoons, for example).
But here’s the thing: that spark needs to be translated into crochet terms. I asked myself: what stitch would mimic that rug’s dense weave? What weight yarn would give me that soft drape? I didn’t have answers yet. I just had a hunch. And that’s enough to get started – really, it is. Save your idea somewhere concrete, even if it’s just a messy note on your phone. You’ll refine it later.
Also, a weird aside: my cat sat on my notebook while I was sketching and smudged half the page. I redrew everything, and the second version was better. So, maybe cat smudges are good luck? Anyway.
Sketching Without Perfection: My Rough Draft Process
I am not an artist. My sketches look like a five-year-old drew them with a crayon. But that doesn’t matter one bit. What matters is mapping out the shape and size of the blanket. I drew a rectangle (very technical) and marked where I wanted color changes, stripes, or texture shifts. For my throw, I wanted a border that mirrored the rug’s edge – a simple scallop. So I added a squiggly line at the bottom of my rectangle.
Pro tip: don’t aim for a museum-worthy sketch. Use stick figures. Use arrows. Write messy notes like “maybe bobbles here??” in the margins. The goal is to externalize your idea so you can see it and start asking practical questions. Like, will this scallop border add too much width? How many repeats do I need for the center section? I didn’t answer those yet – I just got it down on paper.
And honestly, the act of sketching forces you to make decisions. Your brain can’t waffle when you’re drawing a line. So grab a cheap notebook and a pencil. Scribble until it feels real.
Swatching Like a Mad Scientist: Finding Your Stitch and Gauge
Ok, so here’s where the real magic happens. Swatching. I know, nobody loves making a 6-inch square that you might never use. But for a blanket design, it’s non-negotiable. I made three different swatches before I found my groove. First swatch: too stiff, looked like cardboard. Second swatch: too loose, looked like a fishing net. Third swatch? That was the one. Half-double crochet in the back loop only gave me that dense, woven rug texture I wanted. Success.
But here’s the kicker – gauge. Not gonna lie, I hate counting stitches on a swatch. But for a throw blanket that needs to be a certain size (mine was 50×65 inches), gauge matters. I measured my swatch, washed it, dried it, and measured again. The yarn relaxed by about 5 percent. So I adjusted my hook size down a half millimeter to compensate. Sound tedious? Yeah, a little. But it saves you from finishing a blanket that’s two feet too short. Trust me.
- Make at least two swatches – one to test the stitch pattern, another to test gauge after washing.
- Block each swatch just like you’ll block the final blanket. Yarn changes shape.
- Write down every detail – hook size, tension notes, yarn brand. You’ll thank yourself when you write the pattern later.
- Take photos of the swatch in natural light. It helps when you’re deciding on final colors.
The Math That Actually Works: Calculating Yarn and Size
Math. The part every crochet designer dreads. But I’ve got a simple system. Once I knew my gauge (12 stitches per 4 inches, 14 rows per 4 inches), I calculated how many stitches wide and how many rows tall my 50×65 inch blanket needed to be. It came out to 150 stitches across and 227 rows. That felt scary, so I double-checked. And triple-checked. Use a calculator – seriously, don’t try to do it in your head while watching TV.
Then yarn yardage. I crocheted a 4×4 inch square, unraveled it, and measured the yarn used (about 20 yards). Multiply by your total square inches. Add 15 percent for the border and for error. I ended up buying 8 skeins of a worsted-weight cotton blend. I actually bought 10 because I’m paranoid about dye lots. Maybe it’s wasteful, but extra yarn is better than running out mid-border. And you can always make a matching hat with leftovers.
One more thing: my blanket is a throw, not a bedspread. Check your couch or favorite chair to decide size. I spent an hour measuring my cushions – don’t ask. But it made the final fit perfect for curling up.
Writing the Pattern: From Scribbles to Sellable Instructions
So the blanket is finished. Now the real work begins: writing the pattern. I use a Google Doc with separate sections for materials, gauge, stitch guide, and step-by-step instructions. I write each row out in plain English first. Then I add standard crochet abbreviations in parentheses. For my scallop border, I had to describe it in excruciating detail – “sc in next stitch, skip 2, 5 dc in next stitch, skip 2” – repeated until I wanted to scream. But you know what? Clarity is kindness.
Here’s a trick: read your instructions aloud. I did this in my kitchen, and my roommate thought I was losing it. If you stumble over a phrase, rewrite it. If a step sounds ambiguous, add another sentence. I also include photos of key stages (like the border start, color changes). And I always test my own pattern by following it exactly as written, pretending I’ve never made this blanket before. You’d be surprised how many mistakes you find.
Also, include a sizing note. I wrote: “To make a larger blanket, add multiples of 12 stitches.” That empowers other makers to customize without ripping their hair out.
The Test Phase: Why You Need Other Hands
You can’t test your own pattern alone. Your brain fills in gaps because you already know the project. I sent my pattern to two friends who crochet at different skill levels. One was a beginner, one was advanced. The beginner got stuck on the border instructions – my wording was confusing. So I rewrote that section twice. The advanced tester pointed out a stitch count error in row 43. Saved my butt. Thank you, Sarah.
Testing also reveals timing. My advanced tester finished the throw in three weeks. My beginner took two months. That’s good info to include in your pattern notes (“estimated time: 30-60 hours depending on experience”). Honesty helps buyers set expectations. And it prevents angry emails about how “this pattern took forever.”
If you don’t have friends who crochet, join a Facebook group for pattern testers. Offer a free copy of the finished pattern in exchange for feedback. Most people are happy to help, especially if you’re nice about it. Oh, and be prepared for constructive criticism. I cried a little after one tester said my layout was “hard to read.” But I fixed it, and the final pattern is better for it.
Publishing and Sharing Your Design Journey
Once the pattern is tested, polished, and formatted, it’s time to share it with the world. I put mine on Ravelry and Etsy. I also wrote a blog post about the design process – exactly like this one, actually. That’s where the keyword designjourney comes in. People love the behind-the-scenes story. It makes the pattern feel personal, not mass-produced. So include your own journey: the failed swatches, the cat involvement, the lightbulb moments.
For photos, I took pictures in natural morning light, draped over a wooden chair. No fancy equipment – just my phone camera and a window. Highlight the texture, the colors, the size. And don’t forget to add a photo of the finished blanket being used (someone wrapped in it, reading a book). That sells the dream. I also pinned my favorite images to Pinterest with the descriptions like the one you saw earlier. It drives traffic, even months later.
One more tip: price your pattern fairly. I charge $5 for PDF patterns on Etsy. That feels right for a thorough throw pattern. If you’re nervous, start at $3. You can always increase as you gain reviews and followers. And always include a free preview – the first few rows shown in the listing. Builds trust.
And that’s it. A messy, frustrating, beautiful process. Turning an idea into an actual pattern isn’t magic. It’s just a lot of small decisions strung together. You can do it too. Grab a hook, some scrap yarn, and start with a single spark. See where it takes you. I’d love to hear what you create – drop a comment or tag me on social media. Happy hooking!
#crochetblanketdesign #crochetpatterns #throwblankets #knittinginspo #designjourney